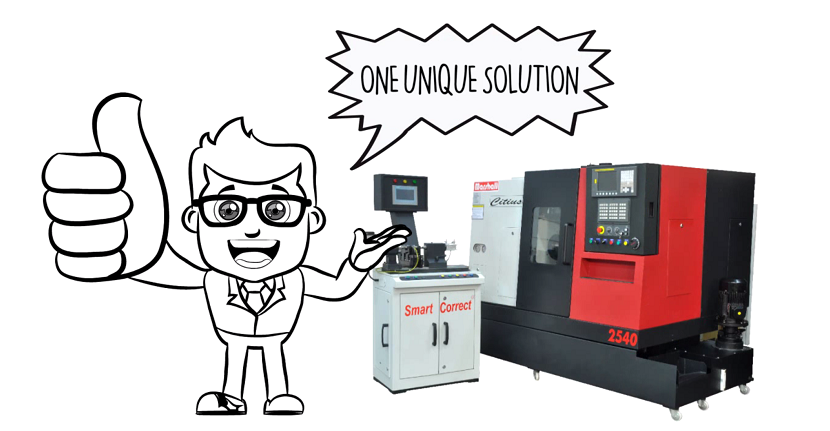
How does SmartCorrect™ Work?
Here’s how SmartCorrect™ Produces Zero Defect Quality!
There are 3 types of Human errors that lead to defective parts being manufactured.
- Measurement Error: With so many different analog instruments used to check various dimensions, the possibility of error caused by non-calibration or the wrong handling of an instrument is something inevitable.
- Judgement: When Operators become tired or unfocused, especially on a night shift, it’s very easy to arrive at a wrong judgement… HOW much correction does the tool offset really need!
- CNC Input Error: Missing a decimal place, Or putting the value of tool offset in wrong window in the CNC screen is a very common problem after a long day of working a repetitive job!
These are serious issues causing huge pain in machine shops! And until yesterday, there was NO solution.
Marshall’s SmartCorrect™ with its Closed Loop Manufacturing Cycle consisting of:
- Auto Inspection of machined jobs,
- Auto Analysis of measured dimensions; and
- Auto-Correction of tool offsets in the CNC control![/quote]
In the brain of SmartCorrect™, advanced algorithms calculate the process mean and automatically correct the tool wear offsets to match Process mean with the Dimensional mean.
This means that during production, the machine is auto-correcting all the critical dimensions of the job automatically, without any operator involvement AND … in REAL TIME!
Whatever turned components you make => from automotive parts to bearing races to hydraulic fittings, …or anything else – SmartCorrect™ makes Turning less stressful, more productive and saves you a ton of MONEY!

